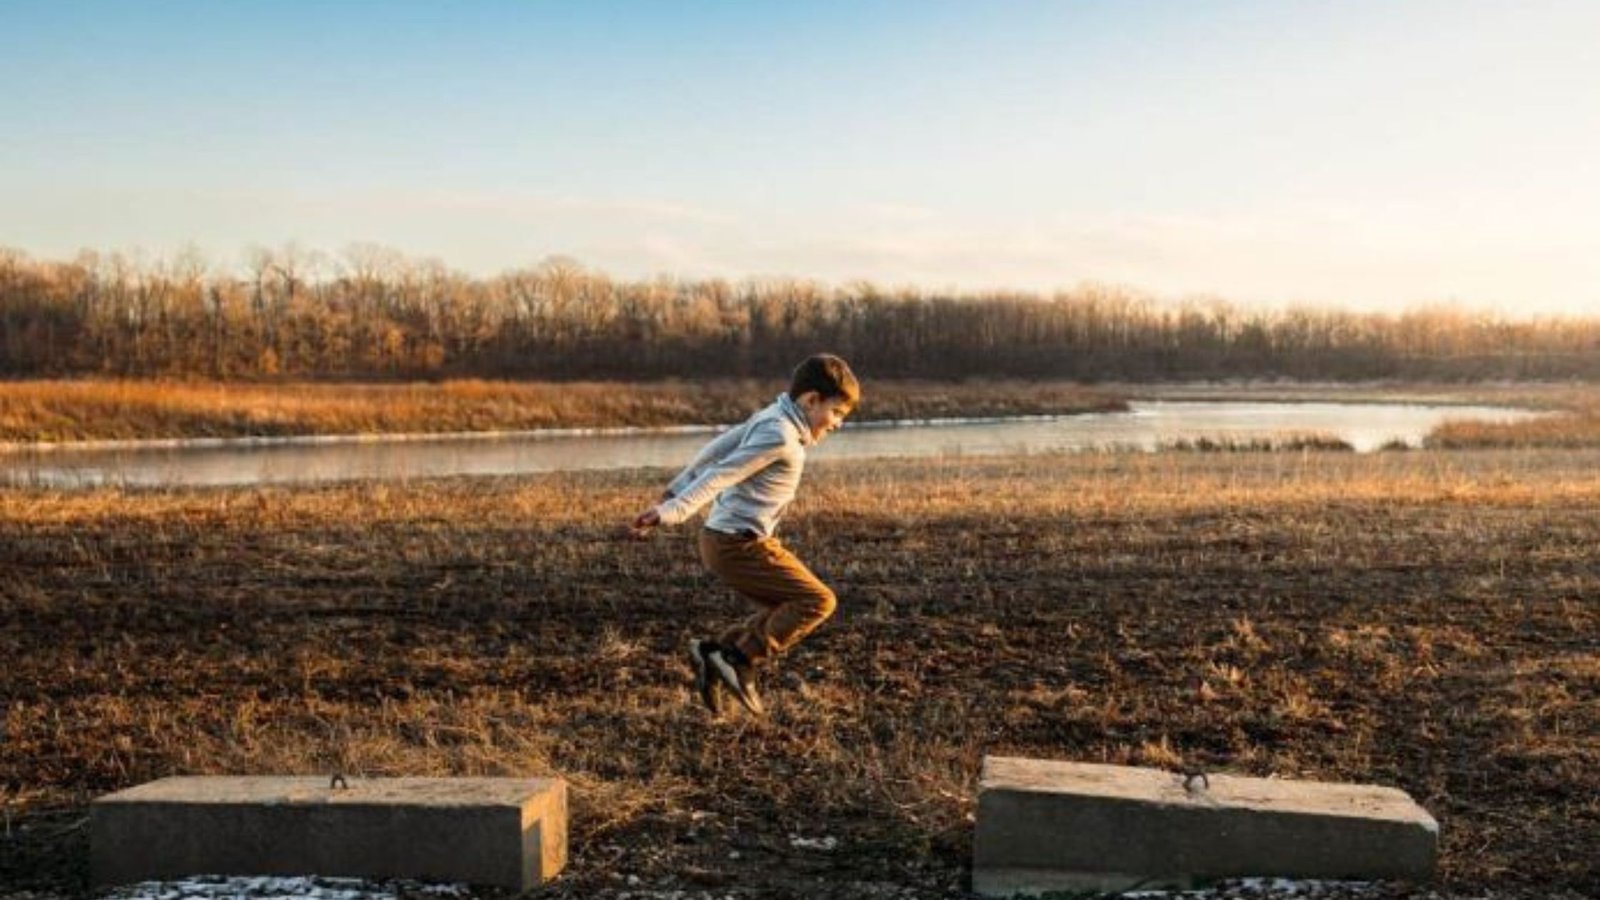
Editing outdoor photos can enhance their natural beauty and bring out the best in your images. Here’s a detailed guide on how to edit outdoor photos effectively:

Choose the Right Software
Selecting the right photo editing software is crucial. Popular options include Adobe Lightroom, Photoshop, and free alternatives like GIMP or Darktable. These tools offer a range of features that can help you enhance your outdoor photos.
Adjust Exposure and Contrast
Start by adjusting the exposure to ensure your photo is neither too dark nor too bright. Use the histogram to guide your adjustments. Increase the contrast to add depth and make the details in your photo stand out. Be cautious not to overdo it, as too much contrast can lead to loss of detail.
Fine-Tune White Balance
Correcting the white balance ensures that the colors in your photo look natural. Use the temperature and tint sliders to achieve the right balance. For outdoor photos, a slightly warmer tone can enhance the natural light and make the image more inviting.
Enhance Colors
Adjust the vibrance and saturation to make the colors in your photo pop. Vibrance boosts the intensity of muted colors without affecting already vivid tones, while saturation increases the intensity of all colors. Be subtle with these adjustments to avoid an unnatural look.
Sharpen the Image
Sharpening your photo can make the details crisper and more defined. Use the sharpening tool to enhance the edges and textures in your image. Be careful not to oversharpen, as this can introduce noise and artifacts.
Reduce Noise
Outdoor photos, especially those taken in low light, can have noise (graininess). Use the noise reduction tool to smooth out these imperfections. Balancing noise reduction with sharpening is essential to maintain detail while reducing grain.
Adjust Highlights and Shadows
Balancing highlights and shadows can reveal more detail in your photo. Lowering highlights can recover details in bright areas, while lifting shadows can bring out details in darker parts of the image. This creates a more balanced and visually appealing photo.
Crop and Straighten
Cropping your photo can improve its composition. Remove any distracting elements from the edges and focus on the main subject. Straightening the horizon ensures that your photo looks professional and well-composed.
Use Graduated Filters
Graduated filters can enhance specific areas of your photo, such as the sky or foreground. Use these filters to adjust exposure, contrast, and color balance in targeted areas. This can add drama to the sky or bring out details in the landscape.
Apply Local Adjustments
Local adjustments allow you to edit specific parts of your photo without affecting the entire image. Use brushes or masks to apply adjustments like exposure, contrast, and saturation to selected areas. This technique can help highlight important features and create a more dynamic image.
Conclusion
Editing outdoor photos involves a series of adjustments that enhance the natural beauty of your images. By using the right software and techniques, you can bring out the best in your outdoor photos, making them more vibrant, detailed, and visually appealing. Practice these tips to develop your editing skills and create stunning outdoor photographs.


